Tuesday, September 1, 2015

Car seat pillow

When ever my little one falls asleep in the car he gets his neck in a weird crooked position. Does that ever happen to you? I guess it's pretty common because I saw this really neat tutorial from Dimplicity.

My friend and I were really excited to try it. So on beautiful Saturday I went to her house and decided to take on this project. Although the project is very simple, it was pretty ambitious to make 2 of those in one afternoon while taking care of 2 toddlers and 1 baby.  

Alleluia! After lunch the 2 toddlers and the baby were asleep for their nap! Wow 3 babies all sleeping at the same time, that was one miracle!

So in a hurry we cut up the fabric and started stiching. I have to say, my friend Gabrielle did most of the stiching as my little one kept waking up. But her youngest one was a real sweet heart and was so quiet after he woke up!


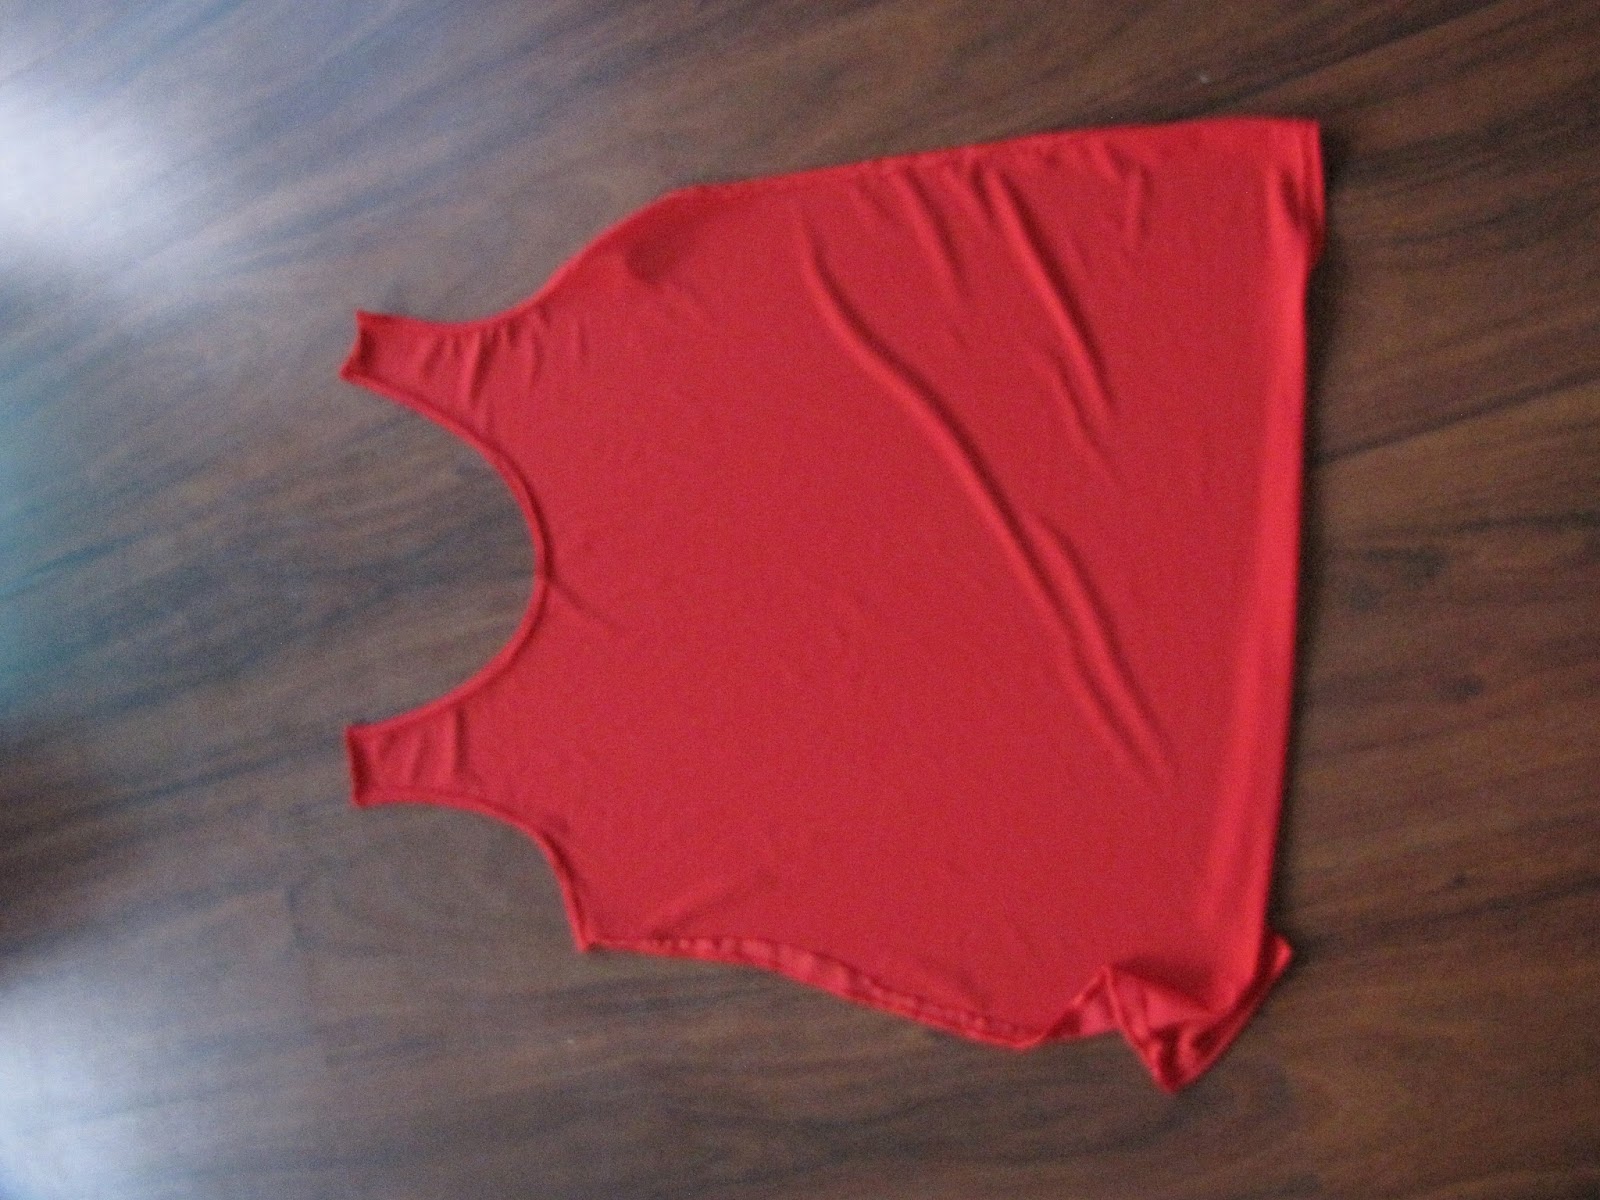
Here is the end result! I used a silky fabric and a normal cotton fabric while my friend used a flannel fabric and a soft blanket left over.


We were really happy and our little guys too! 


Saturday, July 18, 2015

My little super hero DIY costume for baby

Yesterday at daycare was super hero day! The kids had to dress up as their favourite super hero! I was really excited to make a homemade super hero costume!

First you got to decide which super hero you want to be. We decided to go with Super Man. But I didn't want Anthony to be a generic Super Man, I wanted him to be Super Anthony!!!! So I made a Superman logo with an A inside instead of the S. Here is my logo. You can use it as you wish.
I used iron-on paper and printed the logo on it. Then, I cut the paper and I ironed it on a white onesie following the instructions.


It said not to use a iron board, but I had nothing else to use, so I put a ceramic under the onesie to have a really flat surface.


 The result is very nice. The logo is a little bit thick on the fabric and robust


I bought a 100% polyester tank top to make the cape. With all the sales it's almost cheaper to buy a tank top than fabric. But you could use any red fabric you have. Cut a rectangular piece. Try to make it wide like your onesie's collar and long so the cape arrives just above the bum.


After you need to sew the edges and so the cape to the onesie's collar. 


 Unfortunately I did not have my mom's sewing machine so I used fusing paper which you can use to hem. I was not very familiar with it so the finish was a little sloppy. But I was really happy with the end result.

 I bought some royal blue pants and red underwear to finish off the costume!


All that was left to do was to wear it and go to day care and do the Super Hero Parade!


Saturday, June 27, 2015

Dino & Lamb

My best friend just discovered Pinterest. It totally changed her life! Now she is making crafts after crafts!

Here is the cute dinosaur she made, she even adapted the pattern to put and extra leg, because everyone knows dinosaurs have 4 legs! Best thing of all, it's baby-proof. Here is the pattern from Beloved-Ones.


Her first Pinterest project was this cute little lamb! This one is not baby proof, but it's so cute! Here is the pattern from Craft Passion.


Thank you Auntie Cathy!

My little bear's hat

This year it felt like summer was never coming around! So I knitted a small hat for my little one. And obviously everyone knows that a baby hat must have ears on it!


I don't remember which exact pattern I took, but I think it's this one from Just Down Lemon Lane.


Happy knitting!

Booties!

I was cleaning out all my sons's clothing items that were too small (they grow so fast!) and I came across these booties! They were a gift from my sons's grand aunt.


They are so cute! They are so well made! To think they don't fit anymore! What a shame. I really liked them, because quite franckly putting socks on a baby is a hard process and they never stay long! I liked the little booties because, they stayed on and they looked more like shoes/boots than socks.

I'm not sure which pattern she used, but here is a similar pattern.


Happy knitting!


Monday, April 13, 2015

DIY Baby in Stroller Card Tutorial for Shower

My friend is having a baby girl!!! So we organised her shower and it was a lot of fun. I will post in a near future the games and decorations we did. In the mean time, here is a tutorial for the card I made to go with the diaper cake.

It's a really simple card to do, and I think it is so cute!!

To make this card, you will need the following:
- The card itself
- Patterned scrapbook paper for the stroller
- Scrapbook paper and round ornaments for the wheels or just plain buttons
- Beige, brown or yellow paper according to the face colour you want the baby to be
- Scissors
- Glue
- Pen
- Pink Blush

Cut a large circle or oval in the patterned scrapbook paper for the stroller. The exact size is not important. Try to make it proportional to the card. Then, cut a quarter of the circle.


Cut a small circle with the paper for the face. Again make sure it is proportional with the stroller. The face should be a bit smaller than the quarter of the stroller you just cut off.


Cut two small circles for the wheels or use buttons.


Assemble the stroller on the card and glue the pieces on the card.


Glue the embellishments in the centre of the wheels if you decided to use small circles for the wheels.

Take the pen and draw the eyes, the mouth, and the baby's hair. To make rosy cheeks, dab a bit of blush on your fingers and gently press your finger on the baby's cheek.


Voila! You are all done! You can embellish the stroller with lace if you want or other ornaments. And I think your friend will enjoy this handmade card!


My son's 1st birthday party decoration ideas

My son is already one years old! Where did time go? To celebrate this big milestone I decided to decorate our house with simple things.

First I made these big flower balls and hung them. My colleague told me it was easy to make them. They are, but you have to be careful not to rip them when you open each sheet. Although, even if it's ripped, it won't be apparent.  I took the tutorial from Thoughtfully Simple.


Then, I made a "Happy Birthday" garland. They are really easy to make. I used some 6x6 scrapbook paper and cut them in triangles. I used a permanent black marker to write "Bonne Fete" for Happy Birthday in French. I then used some leftover yarn and tape to hang them.


I also reused my Valentine's Day garland and some balloons to decorate.


Obviously balloons are a must for decorating!


Finally I made some yummy banana cupcakes from Lil' Luna which my son loved! At first I thought it was a waste of time to separate the egg whites and the egg yolks. But it made the cupcakes so yummy! These are great because they do not contain milk for those little ones who are allergic to milk. You can even replace the eggs with apple sauce if ever they are allergic to those too. Unfortunately the picture I took was so out of focus that I have to use Lil' Luna's picture.

Credit : Lil' Luna